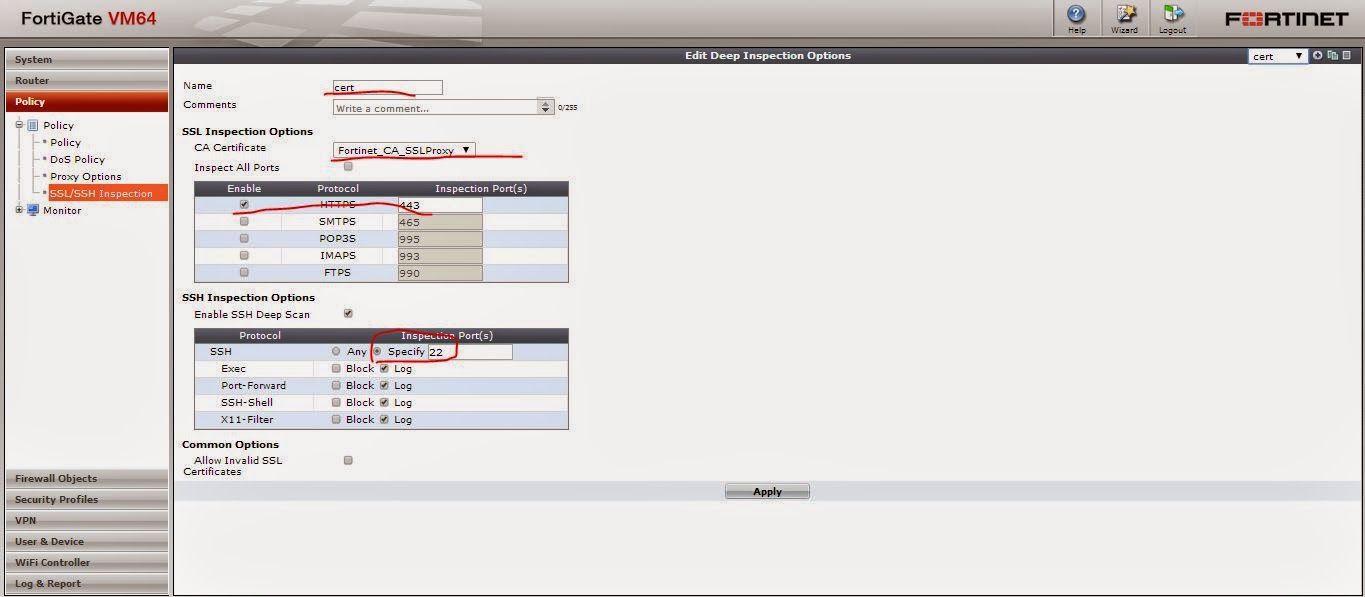
මුලින්ම practise කිරීමට vm appliance එකක් බාගත කරගන්න. ex: http://www.filewatcher.com/b/ftp/ftp.cozumnetwork.net/Fortinet/Fortigate/Fortigate_Firmware/Firmware/v5.00/V5_5.04-0.html
connect windows vm pc with dhcp ip, get ip and stop pc. add ip to fortigate(port1) and make static route to gateway.
use 172.16.1.1 range for vmnat 2, fgt another port(port 2) and pc. )
File > Open ගොස් .ovf එක VMware එකට දාගන්න.
Desktop PC එකත් සමග connect කිරීමට vmnet 1 එකට VM PC එකත් VM Fortigate එකත් සම්බන්ද කර vmnet1 එක හොස්ට් එකට connect කරගන්න.
WAN port එක ඇතුලත් කරමු.
මෙහිදී මගේ PC එක router එකට connect වෙලා තියෙන්නෙ 192.168.1.4න් බවත් router interface එක 192.168.1.1 බවත් නිසා මට WAN port එකත් ඒ range එකෙම එකක් දාන්න වෙනව. ex: 192.168.1.6
ඉන්ට්ර්නෙට් යන්න gateway එක පෙන්නන්න එපාය. ඉතින් static route එකක් දෙන්න ඊ ලගට. එතකොට WAN port එක ඉන්ට්ර්නෙට් වලට දොර හදාගන්නව.


No comments:
Post a Comment